Wanganderry
So you have bought yourself a 3D printer and have already got set up with OctoPrint. You love it, you can print remotely, monitor your prints and make timelapses, but after a while, you feel like the workflow could be optimised a little.
The workflow for me started out with me slicing models in my favourite slicer, saving the gcode file and drag and dropping it into the OctoPrint UI. This works, it works well, but could it work better?
I typically save everything I care about to some form of cloud storage. Partly because I switch between machines and operating systems regularly but more importantly, in case of computer failure I don’t lose anything. This actually happened to me the day before a uni assessment was due and I lost all my work. Weeks and weeks of work. Ever since then all my important files are backed up in the cloud. As a basic rule of thumb, if I would normally put it in my “Documents” folder, it now belongs on the cloud.
Going back to my 3D Printing workflow, my gcode, like most things on my computer is organised into a tree of folders. This makes coming back to past projects and finding prints super easy. Having to drag and drop between my computer and OctoPrint means I have to set up that file structure manually on OctoPrint as well as where I’m organising my files. It is double handling and doesn’t bode well for dealing with revisions. Wouldnt it be nice to just slice, save, then click print.
This is where bringing a cloud service into the mix has really changed the game. By saving all my gcode to a folder synced with the cloud, all my past prints are protected from computer failure/fire/etc and I don’t have to waste time creating file structures over and over again. Additionally, all my changes made on any computer in the world with an internet connection can appear on my printer if I so choose.
Roadmap to the solution. Find the folder where OctoPrint displays it’s file structure from and sync my cloud “3D Prints” folder to it. Then automagically when I slice and save a file, it shows up in OctoPrint all by itself, file structure and all. The same is true when removing files, like failed prints due to bad slicer settings.
I’m running OctoPrint from a Raspberry Pi, and therefore the basic Linux rules and syntax are expected.
First thing first, we need to ssh into the Raspberry Pi. To do this open up a terminal in Linux or Mac or Command Prompt (cmd) in Windows. Type in “ssh” followed by a space and the username@ipaddress and press enter. For me, this looks like:
It could also look like “ssh [email protected]“. One thing to note here, the default username for octopi is “pi” and the IP “192.168.0.21” could be different for you. Once you are logged in you will notice the terminal looks a little different.
The first thing we need to do is install the free software that will sync our cloud service to our Raspberry Pi. I have found “rclone” to be great for this task. To install it just enter:
sudo apt install rclone
Once rclone is installed we need to set it up. Do this by typing:
rclone config
We want to add a new remote so type “n” and press enter.
Now we need to give it a name. For this how-to I’m going to use Dropbox, however, adding any other service to the list is similar and well guided. Additionally to keep things clear I’m going to name this remote as “Dropbox-remote“, typically however I would just call it “Dropbox”.
What is presented to us is a huge list of cloud services that are supported by rclone. Be careful to read through the list you are presented with and select the corresponding number for the service you want as they are constantly adding new services to the program and the numbers could change. For me, I select Dropbox by typing “8” and pressing enter.
You will be prompted for a “Dropbox App Client Id” and “Dropbox App Client Secret”. We are going to leave these two fields blank and just press enter for each. When prompted to “Edit advanced config” we can select no “n“. When prompted to “Use auto config?” we are going to select no “n“. This is because we are working on a remote and headless machine. It doesn’t have a web browser or screen attached.
To authenticate your login we need to use rclone on a computer with a browser. This can be installed to Windows, Mac and Linux so as long as you have access to a computer with the internet this next step shouldn’t be too hard. On Windows I ran the executable from a terminal (cmd) by entering:
Downloads\rclone-v1.51.0-windows-amd64\rclone-v1.51.0-windows-amd64\rclone.exe authorize “dropbox”
On Linux and assumably Mac, once it is installed you can just run:
rclone authorize “dropbox”
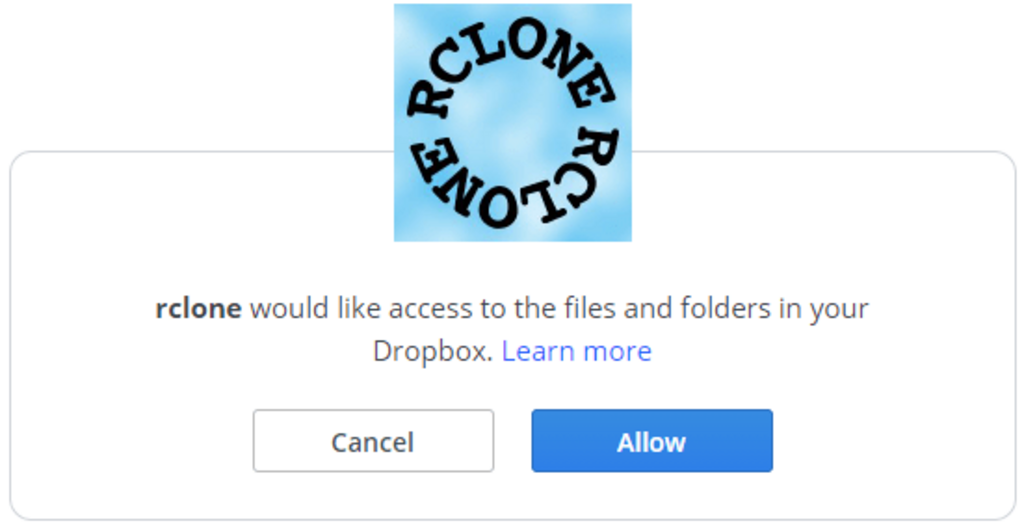
When prompted in your browser “Allow” rclone to access your Dropbox files and folders.

Complete the authentication step by closing your browser and copying (ctrl + shift + c) the received code from the rclone terminal and pasting (right-click) it into the octopi terminal. When you are asked to confirm hit yes “y“.
The list of current remotes should now state the one you just added. At this point feel free to add more remotes, you can sync multiple cloud services if you so require. Once you are done quit by pressing “q” and enter.
Now that we have rclone set up we need to schedule it to regularly sync with the cloud services. To do this we will use crontab. In your octopi terminal enter:
crontab -e
If you are prompted to pick an editor, choose “nano”. Once it is open use your keyboard to go to the very bottom of this file and add this line
*/5 * * * * /usr/bin/flock -n /tmp/some.lockfile rclone sync ‘Dropbox-remote:’ ~/.octoprint/uploads/
Let’s break this command down a little.
You are now all finished. Let’s quit nano, saving using (ctrl + o) and quit using (ctrl + x).
Time to reboot.
sudo reboot
Once it starts back up be sure to give rclone enough time to sync your directory. If you have a lot of files this can take some time to initially sync. Once this is complete, only future changes will need to sync and will be happening quietly in the background as you work.
Now we have our cloud files and folders showing up directly in OctoPrint’s UI. No more dragging and dropping files over. No more creating duplicate folder structures. No more removed files hanging around unnecessarily.
If you found this helpful let me know, I would love to hear from you!
What cloud services do you use?
If you would like to get in touch, send me an email and I will get back to you as soon as I can. I look forward to hearing from you!.