Wanganderry
How to setup octoprint/octopi on a RPI 4
OctoPrint recommends using the OctoPi image maintained by Guy Sheffer. This is the route I took. I downloaded and extracted this from the OctoPrint website, however, you could also get it from Guy’s GitHub.
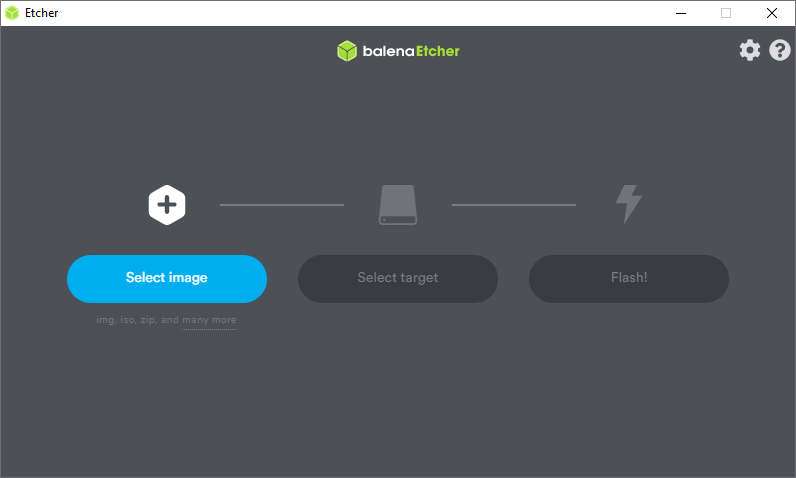
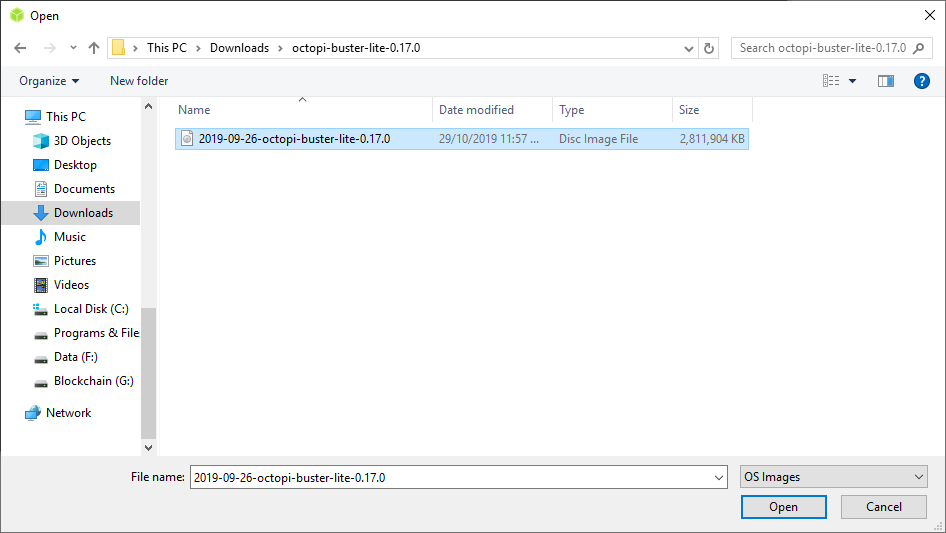
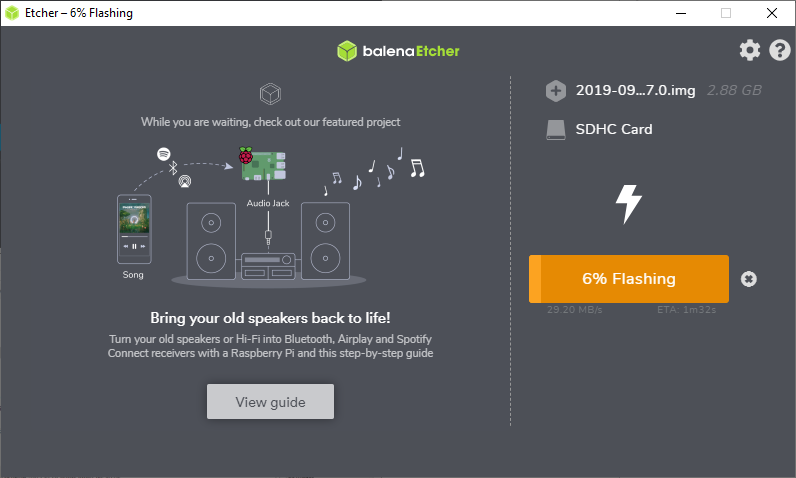
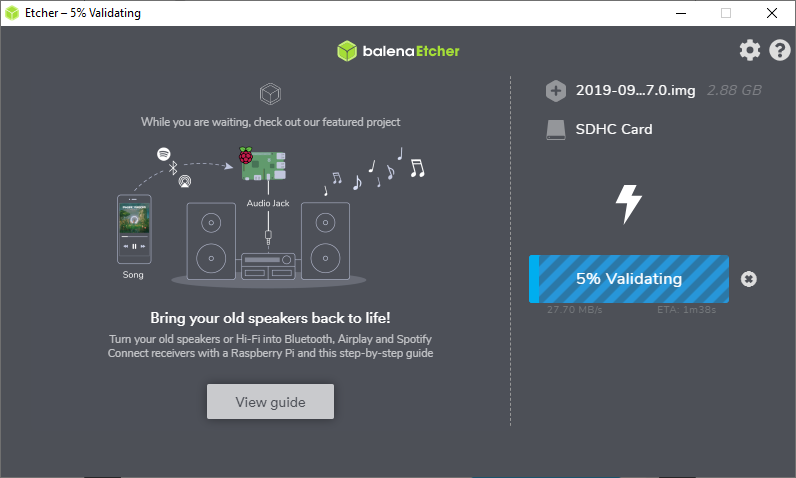
Next, I downloaded and installed Etcher. Etcher is used for installing the extracted .img OctoPi file onto the sd card. First I selected the OctoPi image.

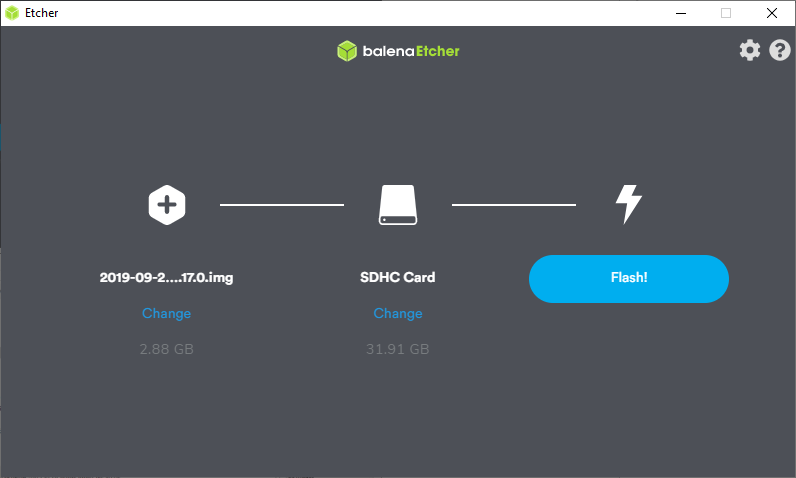
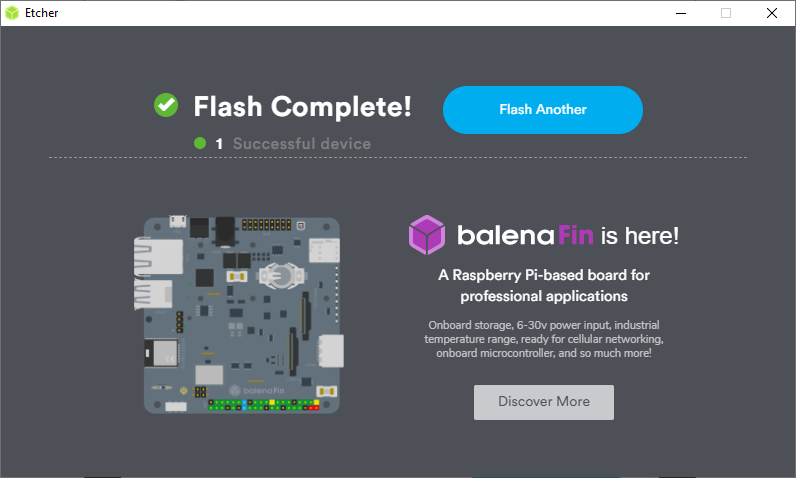
Etcher ejects the sd card once it completes so I reinserted it to set up the wifi settings. Using VSCode (you could also use Atom or notepad++) I edited octopi-wpa-supplicant.txt on the sd card.
Now time to boot the Raspberry Pi 4 with the configured OctoPi sd card and connect via ssh. To do this I logged into my router and found the new IP address assigned to the raspberry pi. I then logged in using command line ‘ssh pi@IP-address’. To finish off configuring OctoPi I ran sudo raspi-config, changed my password and rebooted.
Accessing OctoPrint using http://octopi.local doesn’t work on windows without Bonjour Print Services for Windows. Instead, I used http://<your pi’s ip address>. This allowed me to finish the set up of OctoPi.
Now a locally available remote for my 3D printer is good, but not quite perfect. To be able to access the controls from anywhere in the world with an internet connection I will need to set up a VPN. I did this by following Kyle Rector’s guide to installing Hamachi on Raspberry Pi.
This is one part of my Remote 3D Printing Setup project.
If you would like to get in touch, send me an email and I will get back to you as soon as I can. I look forward to hearing from you!.