Wanganderry
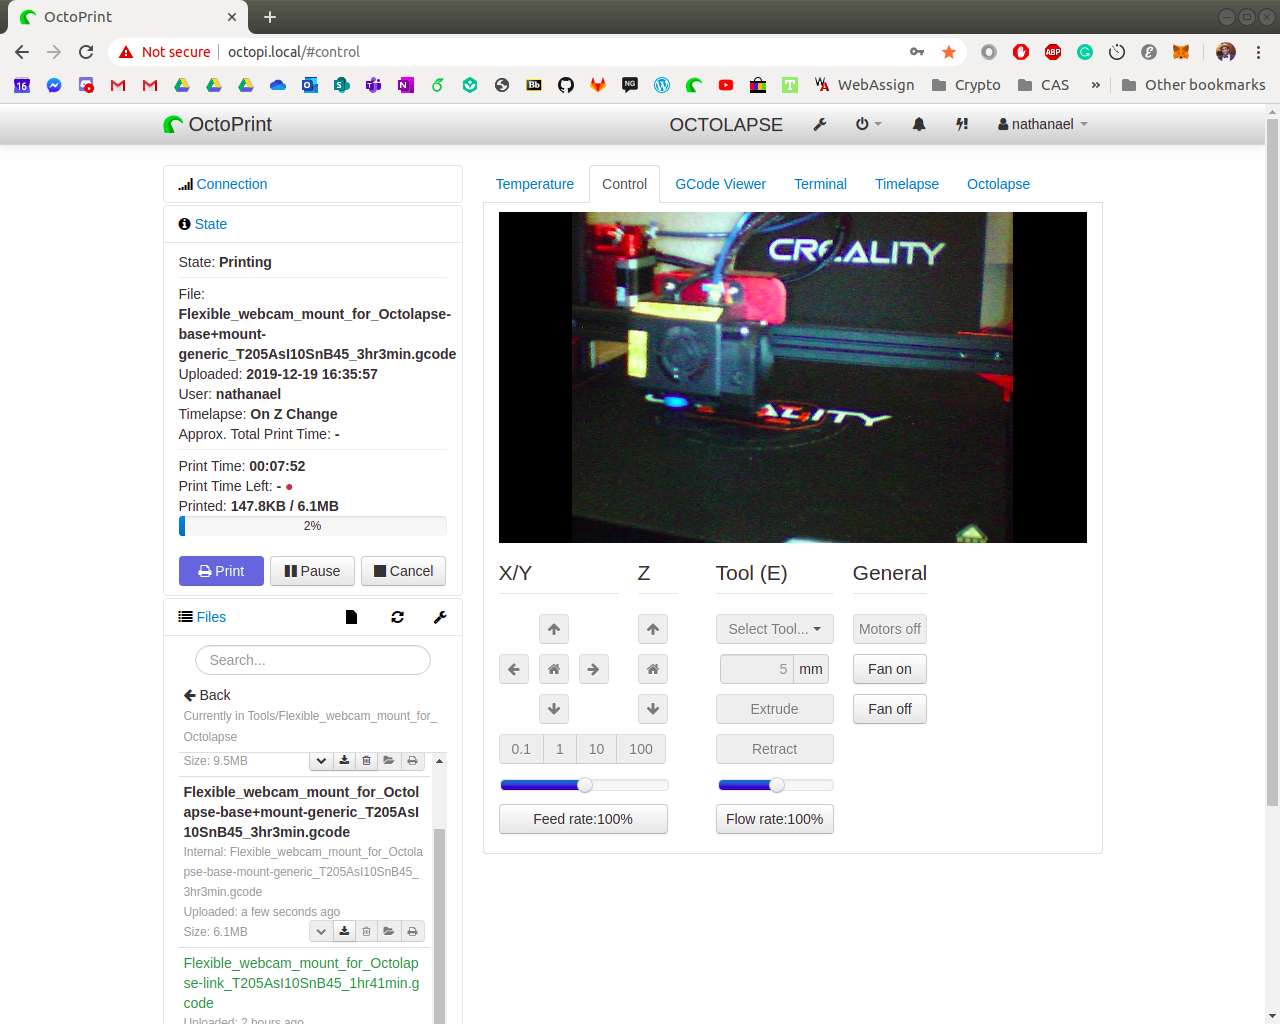
One of the many great perks of running OctoPi and OctoPrint for your 3D printer is the USB webcam support allowing you to remotely view your 3D prints.
To edit the resolution and framerate of this camera feed you need to change the mjpg-streamer parameters found in the config file /boot/octopi.txt by opening it with your favourite text editor (i.e. nano). Here are a few ways to do this:
Personally, my favourite option is to ssh into the Raspberry Pi. This is because we have already got the Raspberry Pi running on our network, connected to the 3D printer without a screen, keyboard or mouse. There is no messing about with wires or SD cards and once we have finished editing the file we can even reboot from the command line (using sudo reboot).
Now to editing /boot/octopi.txt With the config file open you will be looking for this line:
#camera_usb_options=”-r 640×480 -f 10″
Remove the comment ‘#’ from the start of the line to enable this option.
To change the resolution replace ‘640×480’ with your desired resolution.
Editing the framerate is similar, replace ’10’ with your desired framerate. When editing your framerate keep in mind that making this too high may affect your print quality if the raspberry pi is struggling to process everything. A rule-of-thumb I have seen across many forums is to increase this number to 15.
Keep in mind that you can only access OctoPrint on your local network. If you want to be able to access it over the internet you could use a VPN. As mentioned in my SET UP OCTOPRINT/OCTOPI ON A RASPBERRY PI 4 post, I followed Kyle Rector’s guide to installing Hamachi on Raspberry Pi.
This is one part of my Remote 3D Printing Setup project.
If you would like to get in touch, send me an email and I will get back to you as soon as I can. I look forward to hearing from you!.