Wanganderry
OctoPrint is full of features and one great built in one allows you to take timelapses of your prints.
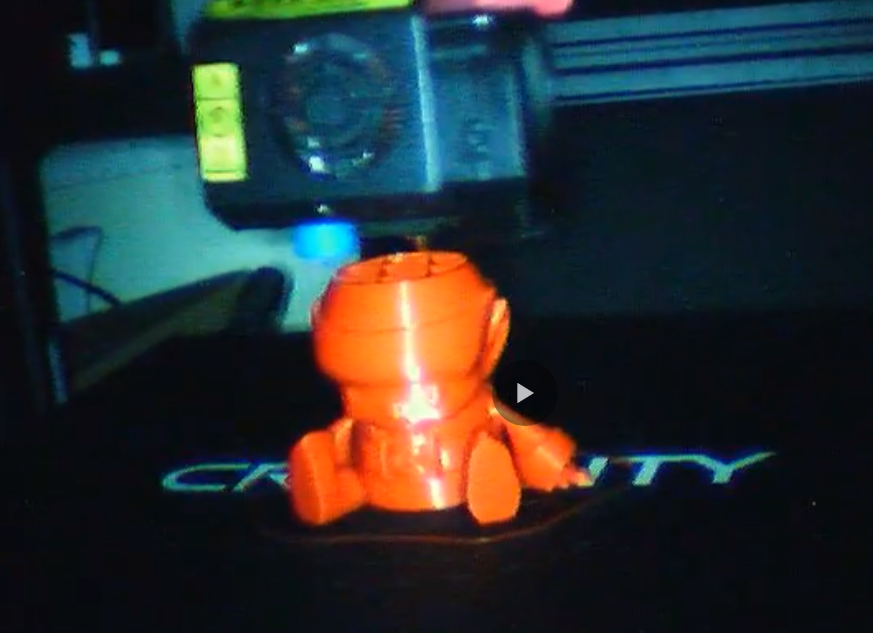
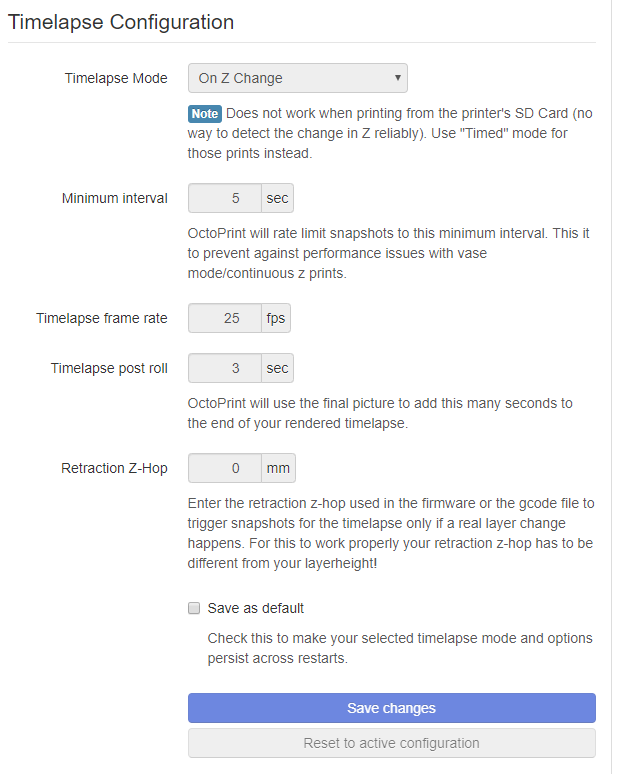
The way this works is OctoPrint waits for a z-axis change which signals going from one layer to the next. This is the trigger that takes a photo. After your print has completed all the photos are rendered together giving you a timelapse video of your print.
The configuration settings are quite simple and easy to modify. Keep in mind that you can not edit the configuration settings while you have a print running and be sure to tick “Save as default” once you have your settings dialed in.
This feature works great out of the box however there are a few things to keep in mind. The photo is taken on layer change which could mean the bed and/or nozzle is in a different position every photo. This can leave you with a timelapse that is a bit jerky and disorientating to watch. To combat this problem I will be setting up Octolapse which allows you to set a bed and nozzle position for each photo on layer change.
3D Print Timelapse – Flexible webcam mount https://youtu.be/v97WJOu5JM4
3D Print Timelapse – ChristmasFigures Duende https://youtu.be/P9j3Ga4w68w
This is one part of my Remote 3D Printing Setup project.
If you would like to get in touch, send me an email and I will get back to you as soon as I can. I look forward to hearing from you!.